
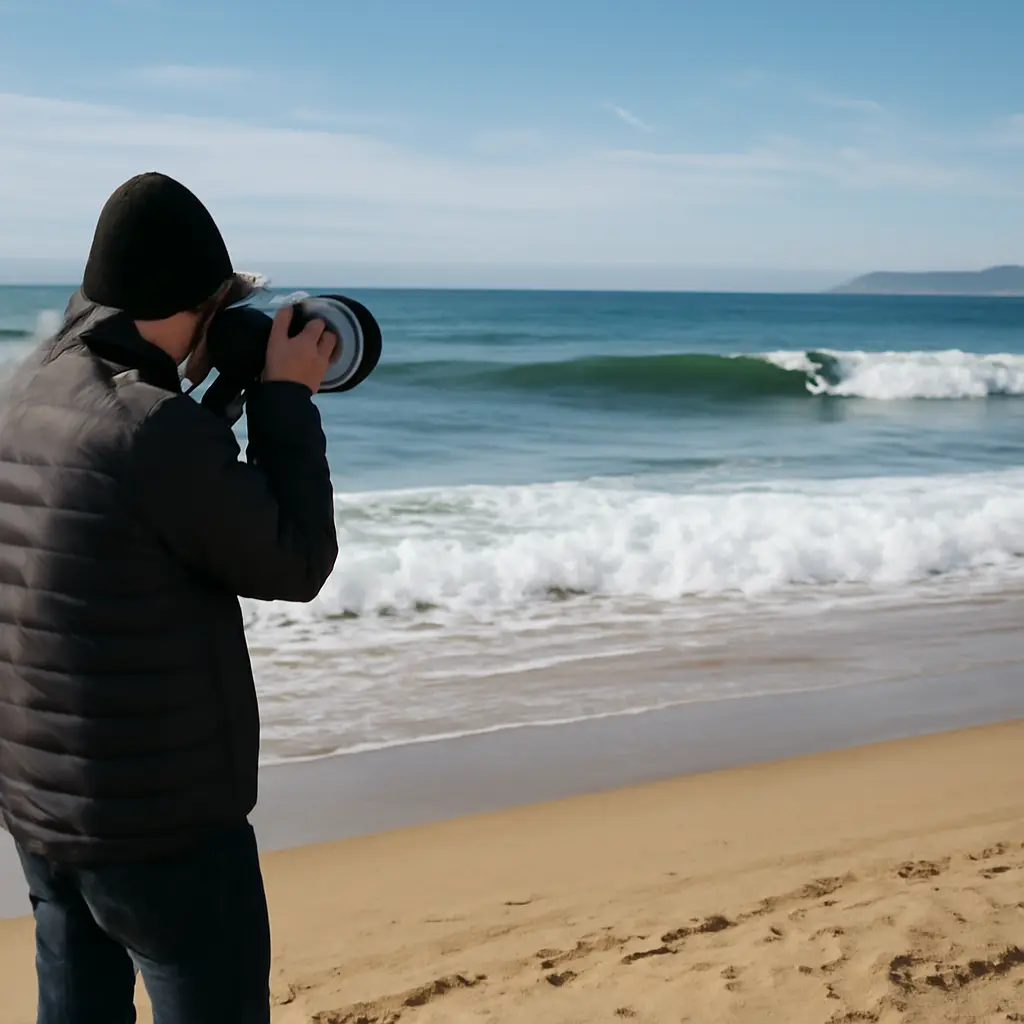
Surf photography is the practice of capturing surfers, waves, and the surrounding ocean in a still image. A surf photo looks flat and lifeless when its light, timing, composition, or exposure fails to show the wave’s shape and the surfer’s movement. Beginners can improve by watching the light, choosing a clear subject, timing the peak action, and managing contrast and shutter speed. Those choices matter: the National Oceanic and Atmospheric Administration (NOAA) describes waves as moving energy, while a photograph freezes one instant of that motion—so the moment and viewpoint determine whether the image feels dynamic or static.
Surf Photo Depth Depends on Light, Contrast, and Tone
Photographic depth is the impression of shape and separation created by lighting, tonal contrast, perspective, and overlapping forms. It is not a single camera setting. In surf images, the wave face, whitewater, surfer, and horizon need enough visual distinction to read as separate elements. Adobe’s photography guidance explains that contrast and directional light help define shape; applied to surfing, that means noticing how sunlight reveals the curvature of a wave rather than treating the ocean as one uniform blue area.
Flat midday light hides wave texture
Flat light is diffuse or nearly frontal light that creates few visible shadows and highlights. When the sun is high, the wave face may receive fairly even illumination, making its contours harder to see. Early or late sunlight often arrives at a lower angle and creates more revealing highlights and shadows across the water. This is a tendency, not a guarantee: haze, cloud cover, and the direction of the coastline can change the result. Before shooting, compare the wave face from several positions and look for light that reveals its curve.
Weak tonal separation blends surfer and water
Tonal separation is the difference in brightness or color between the subject and its background. A dark wetsuit against a shadowed wave can disappear, while a bright board against white foam may also lose its outline. Look for a moment when the surfer crosses a lighter or darker part of the wave, or adjust your position so the subject is set against a cleaner background. A polarizing filter can reduce some reflected glare and deepen the appearance of water, but its effect depends on the sun’s angle; it cannot restore detail that is absent because of poor light or overexposure.
Overexposed foam erases detail
Clipped highlights occur when bright areas exceed the camera sensor’s recording range and become featureless white. Breaking surf is especially vulnerable because foam is much brighter than the surrounding water. Check the exposure preview or histogram, and reduce exposure when highlights are clipping. Preserve enough detail in the whitewater to show texture, but avoid darkening the entire frame so much that the surfer and wave face become muddy. NOAA’s wave and coastal imagery also makes clear why conditions matter: sea state and breaking patterns change, so exposure should be checked as the scene changes.
Surf Photo Composition Gives the Action a Clear Read
Composition is the arrangement of visual elements within the frame. In a surf photograph, it directs attention among the surfer, wave, spray, and open water. A technically sharp image can still feel lifeless if the subject is too small, the horizon competes with the action, or the frame contains distracting empty space. Composition works together with viewpoint: changing where you stand or where you aim can make the same wave feel more powerful and three-dimensional.
A distant surfer becomes an unreadable subject
Subject scale is the amount of the frame occupied by the main subject. If the surfer is only a tiny figure, body position and board direction may be impossible to read, particularly in a wide scenic image. Use an appropriate telephoto lens or crop carefully, while leaving enough space to show the direction of travel and the shape of the wave. A wide image can still work when the coastline, wave, or weather is an intentional part of the story; the issue is not distance itself, but an unclear visual priority.
A low or repetitive viewpoint removes scale
Viewpoint is the camera’s position relative to the subject. Shooting every wave from the same beach-level angle can make a sequence feel repetitive and conceal the wave’s depth. Where it is safe and permitted, explore different positions along the shore or use an elevated viewpoint to reveal the wave’s line and the surfer’s relationship to it. Include a reference—such as a headland, another surfer, or the shoreline—when scale is important. Never enter hazardous water or obstruct other beach users for a photograph; surf conditions and access rules take priority.
A careless horizon and excess empty space distract
A horizon that is unintentionally tilted can make the sea appear unstable, while a horizon crossing the surfer’s head or body can interrupt the subject’s outline. Keep it level unless a deliberate tilt supports the image. Then frame around the action: leave room in front of the surfer’s movement, but avoid large areas of empty water or sky that do not add context. The rule of thirds can help place the surfer off-center, though it is a starting point rather than a requirement.
Surf Photo Timing and Focus Preserve the Peak Moment
Timing and focus determine whether a photograph communicates surfing as action rather than as a distant person on water. The peak moment may be a turn, a clean line through the pocket, a spray burst, or the instant before a maneuver finishes. Because wave shape and surfer movement change quickly, anticipating the action is often more effective than reacting after it happens. A camera’s autofocus and burst mode can help, but they cannot replace watching the wave and predicting where the surfer will go.
Late shutter timing misses the strongest gesture
Action timing is the choice of when to release the shutter in relation to a movement. A frame taken after the turn may show the surfer moving away, with the spray and board angle already lost. Watch the surfer’s line and the wave’s breaking section, then begin shooting just before the expected maneuver. Burst shooting can increase the chance of capturing a useful instant, but selecting only the most expressive frame avoids a sequence of near-identical images. Not every dramatic-looking moment is the best one: a clear silhouette and readable board position matter as much as spray.
Slow shutter speed turns action into blur
Shutter speed is the length of time the camera records light. A slow shutter can blur a moving surfer or spray, reducing the sense of crisp action. For a sharp action frame, use a sufficiently fast shutter speed for the subject’s movement and check the result at high magnification. The exact setting depends on distance, focal length, light, and how much motion blur you want. A slower shutter is not automatically a mistake: intentional blur can communicate movement, but it should be a deliberate visual choice rather than an accidental loss of detail.
Missed focus makes the frame feel less immediate
Autofocus tracking follows a moving subject across frames, while continuous autofocus modes keep adjusting focus as the subject approaches or moves away. For surfing, select a focus area that can stay on the surfer and use continuous tracking when available. If the camera repeatedly locks onto spray or the wave behind the surfer, simplify the background, reposition, or choose a more controlled focus area. Review a few test frames before the action intensifies so you can confirm that the camera is tracking the subject rather than merely producing a burst of images.
Surf Photo Color and Editing Need Restraint
Color and editing shape the final image, but they cannot substitute for clear light, timing, and composition. Overprocessing can make water look unnatural, erase subtle wave texture, or create harsh edges around the surfer. A useful edit restores what the scene looked like and strengthens the intended focal point without making the viewer notice the processing first.
Excess saturation makes ocean color look artificial
Saturation describes the intensity of color. Pushing saturation too far can turn blue water into an implausible neon tone and exaggerate skin, boards, or shoreline colors. Adjust white balance first, then make small color changes while checking that foam remains neutral and the water still looks credible. Ocean color varies with depth, sediment, reflection, weather, and time of day, so a single preset will not suit every surf scene.
Aggressive contrast and sharpening create harsh artifacts
Contrast editing changes the difference between light and dark areas, while sharpening increases the apparent edge definition. Excessive contrast can crush shadow detail in a wetsuit and clip the foam; excessive sharpening can create halos along the wave or surfer. Make local adjustments only where they help the subject stand out, and compare the edited image with the original. If the edit removes subtle tonal transitions in the wave face, it is likely reducing rather than adding depth.
Cropping can strengthen the story—or remove essential context
Cropping changes the boundaries of the image after capture. A tighter crop can make a small surfer more legible, but cutting off the board, spray, or the direction of travel may make the action confusing. Preserve enough context to explain the wave and the movement. When possible, solve framing problems at capture by choosing a suitable focal length and position, then use cropping as refinement rather than as a substitute for composition.
Conclusion: Make Surf Photos Feel Alive Before Editing
Surf photos most often look flat when light hides wave shape, tonal contrast merges surfer and water, composition weakens the subject, or timing and focus miss the action. Start by finding directional light and a clear background; frame to show the surfer’s path and the wave’s form; use a shutter speed and autofocus approach suited to the movement; then edit highlights, color, and contrast with restraint. On your next session, review a small set of images and identify which single factor most often weakens them. Improving that one choice at a time is more effective than relying on a preset or buying new gear.
Sources: National Oceanic and Atmospheric Administration, Ocean Waves, https://oceanservice.noaa.gov/education/tutorial_currents/04waves1.html; Adobe, Photography Basics: How to Use Contrast in Photography, https://www.adobe.com/creativecloud/photography/discover/contrast-in-photography.html; Adobe, The Exposure Triangle, https://www.adobe.com/creativecloud/photography/discover/exposure-triangle.html; National Oceanic and Atmospheric Administration, How Are Ocean Waves Formed?, https://oceanservice.noaa.gov/facts/wavesinocean.html.


