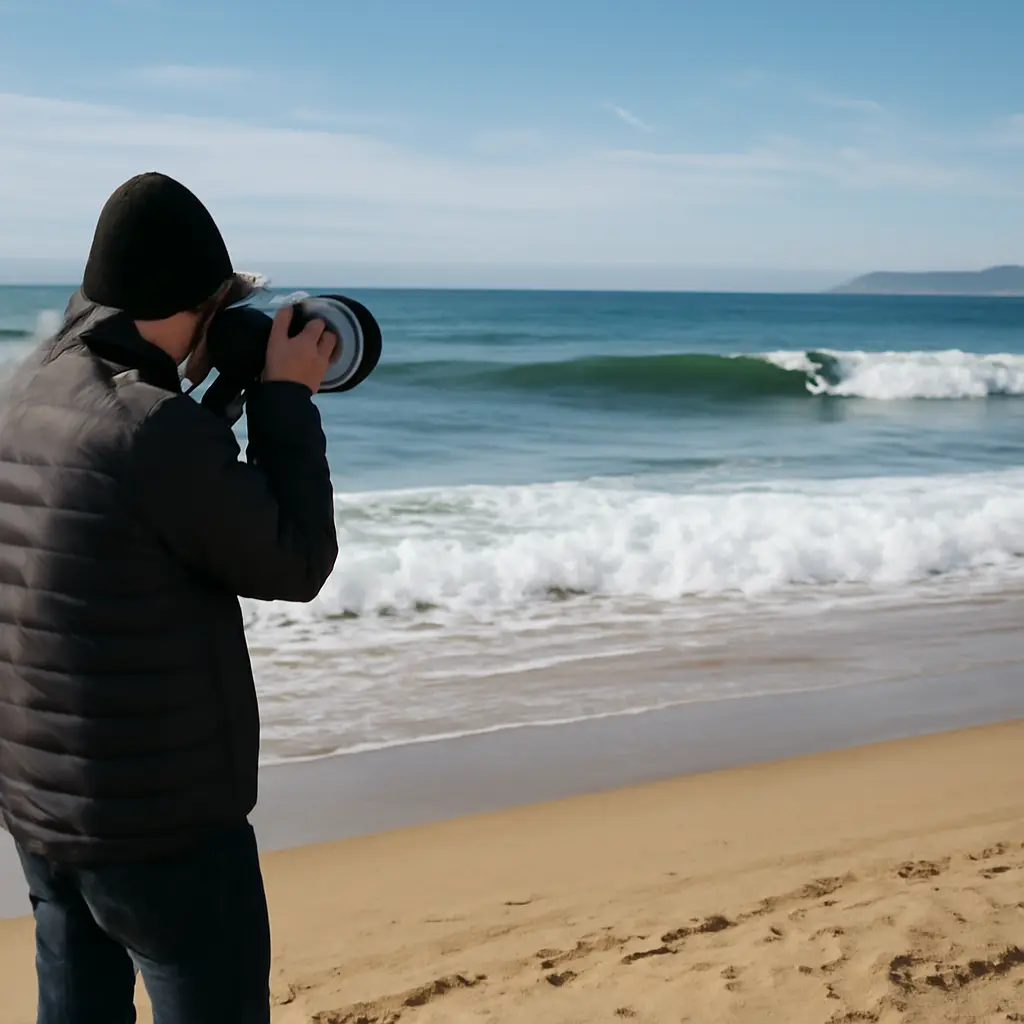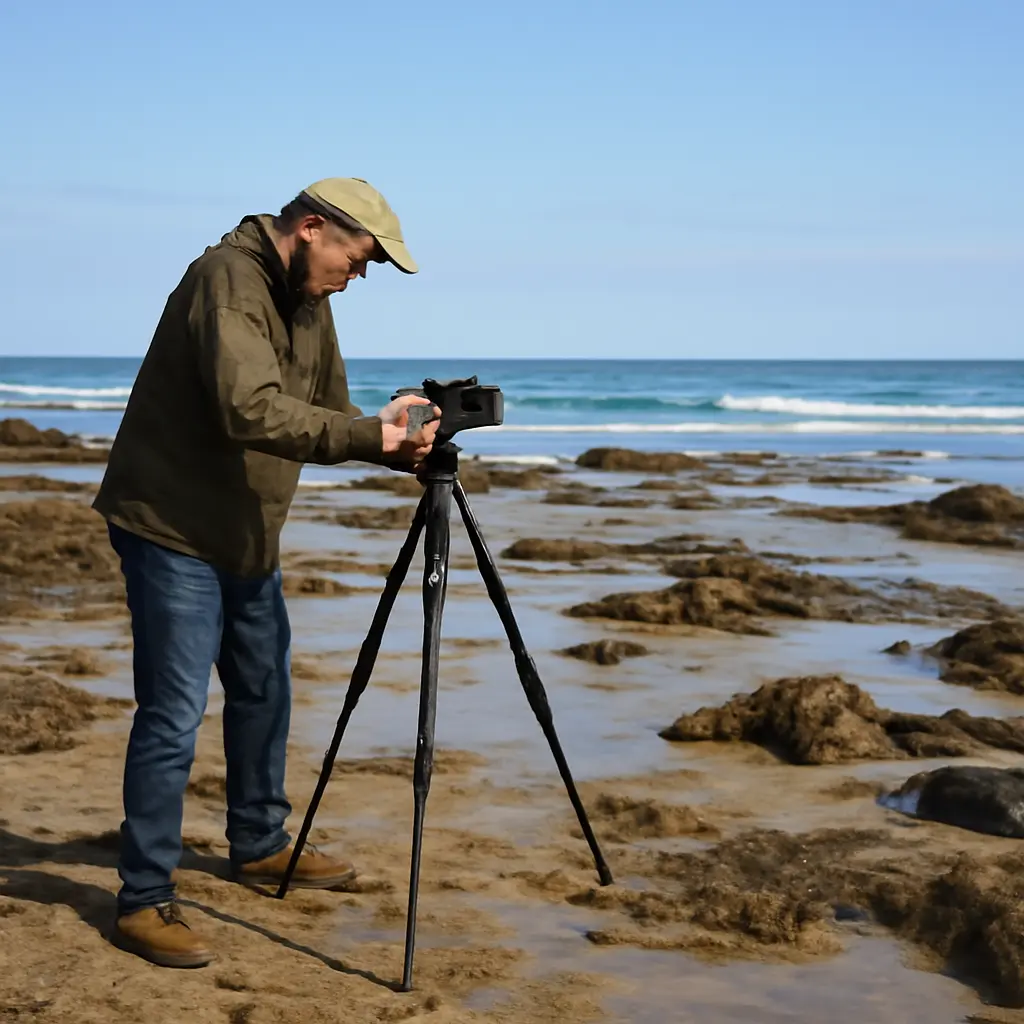
For beginning coastal photographers, aperture controls how much of the scene appears sharp, while a tripod steadies the camera during long exposures and low-light work. Together, they are a practical first investment in control—not a guarantee of better pictures. The National Park Service notes that coastal environments can combine changing light, moving water, wind, and salt spray, so a useful starting kit is a camera with aperture control, a stable tripod, and basic protection for the equipment. This guide explains how aperture and tripods work, how to choose settings for common shoreline scenes, and how to use the gear safely.
Aperture and tripod: the core coastal photography pairing
Aperture is the adjustable opening in a lens that admits light to the camera sensor. It is described in f-stops: a smaller number, such as f/2.8, means a wider opening; a larger number, such as f/11, means a narrower one. A tripod is a three-legged support that holds a camera steady. Photography educator and author Bryan Peterson describes aperture as a key control for depth of field—the range of distances that look acceptably sharp—while exposure also depends on shutter speed and ISO.
The two tools solve different problems. Aperture shapes both brightness and depth of field; a tripod reduces camera movement, making slower shutter speeds practical. This matters on the coast, where a photographer may want a sharply rendered foreground and horizon, or may deliberately blur waves while keeping rocks and buildings steady. A tripod cannot freeze moving water, and a small aperture cannot prevent camera shake, so the settings and support need to work together.
Aperture as an exposure and focus control
The f-number is the ratio of a lens’s focal length to the diameter of its entrance pupil. Each full stop changes the light admitted by a factor of two: moving from f/8 to f/11 admits about half as much light, while moving from f/8 to f/5.6 admits about twice as much. In automatic or semi-automatic modes, the camera can compensate with shutter speed or ISO, but those changes affect motion rendering and image noise.
Aperture also changes depth of field. A wide aperture such as f/2.8 can isolate a shell or flower against a soft background; a narrower aperture such as f/8 or f/11 generally helps keep more of a landscape in focus. These are starting points, not universal prescriptions: depth of field also depends on focal length, focus distance, sensor format, and composition.
Tripods as support for stable framing
A tripod supports the camera at a fixed position, reducing blur from the photographer’s movement during an exposure. It is particularly useful for dawn and dusk, bracketing exposures, careful composition, and shutter speeds long enough to soften moving water. With a tripod, photographers can also make repeatable frames for panoramas or compare changing tides and light from the same viewpoint.
Stability depends on more than the legs. A center column raised high, a loose head, or a camera strap buffeted by wind can introduce movement. On a beach, legs may sink or shift in soft sand; on rocks, they need secure contact. Use a remote release or the camera’s timer when practical, and check that the tripod head and camera plate are locked before composing.
Coastal aperture settings for common scenes
Once the basic controls are clear, match aperture to the subject and desired depth of field. The settings below are useful experiments rather than rules: inspect the resulting image, especially the foreground and moving water, and adjust for the light and lens.
Wide landscapes and foreground detail
For a scene with rocks, tide pools, or driftwood in the foreground and a distant horizon, begin around f/8. This often provides substantial depth of field while avoiding the very narrow apertures at which diffraction can soften fine details. Focus on an important foreground or middle-distance element, then review sharpness across the frame. If the nearest subject is extremely close, a narrower aperture or focus stacking may be needed.
The familiar “hyperfocal distance” approach can help distribute focus from near the camera toward the horizon, but it is not a fixed distance for every setup. It varies with focal length, aperture, sensor format, and the chosen sharpness standard. A test frame and magnified playback are more reliable than assuming that focusing at infinity will render nearby details sharp.
Blurred surf and moving clouds
To create silky water, use a long shutter speed and keep the camera steady on a tripod. Aperture is one way to reduce incoming light, but in bright conditions f/11 alone may not allow a long enough exposure. A neutral-density filter reduces light without intentionally changing color, enabling longer shutter speeds; the needed filter strength depends on daylight, the desired exposure time, and the camera’s metering.
There is no single ideal exposure for waves. A fraction of a second can retain wave shape, while exposures lasting several seconds or longer can smooth the water more strongly. A tripod keeps static parts of the scene sharp, but the water’s appearance remains a result of its movement during the exposure. A textual comparison chart could show the same shoreline at 1/4 second, 1 second, and 10 seconds to illustrate this progression.
Portraits, details, and low-light scenes
For a portrait or a single coastal detail, a wider aperture can separate the subject from a busy background. Keep enough depth of field to render the subject’s important features sharp, and use a shutter speed fast enough to handle subject movement. A tripod stabilizes the camera but does not stop a person, bird, or windblown plant from moving.
At sunrise, sunset, or blue hour, a tripod lets you use a slower shutter speed at a moderate aperture rather than raising ISO as much. If the scene includes moving people or waves, however, a longer exposure will record that movement. Choose the trade-off intentionally: stability for fixed elements, shutter speed for moving subjects, and aperture for the desired depth of field and exposure balance.
Choosing and using a coastal tripod
Tripod choice involves a balance among stability, weight, working height, packed size, and resistance to the conditions in which it will be used. A sturdy model that stays home is less useful than one the photographer will carry. Before buying, check its rated load against the combined weight of the camera, lens, and accessories, while remembering that a rating alone does not guarantee stability in gusty conditions.
Leg design, head, and practical stability
Tripods commonly use twist-lock or lever-lock leg sections; either can work if the locks are secure and easy to operate. A ball head is compact and quick to reposition, while a three-way head offers separate controls for more deliberate alignment. For landscapes, a level horizon and a securely tightened head matter more than a particular head style.
On sand, avoid extending the thinnest leg sections unless necessary, and press each foot into firm ground. On a windy overlook, lower the center column and keep the camera strap from flapping. Do not hang a heavy bag from the tripod unless the design supports it and the bag cannot swing; swinging weight may increase movement rather than reduce it.
Salt, sand, and weather protection
Salt spray and fine sand can contaminate camera controls, lens mounts, and tripod joints. The National Park Service advises visitors to prepare for coastal conditions and protect equipment; practical precautions include keeping a microfiber cloth and a blower in a clean bag, changing lenses away from blowing sand, and avoiding direct contact between the lens glass and cleaning cloths that may carry grit.
After a coastal session, follow the equipment maker’s care instructions. Wipe external surfaces with a clean, slightly damp cloth when appropriate, dry the gear thoroughly, and inspect tripod locks and leg joints for grit or salt residue. Never assume a camera or lens is weather-sealed unless its manufacturer specifies the protection, and avoid opening battery or memory-card compartments in spray or blowing sand.
A beginner’s coastal shooting workflow
A repeatable routine makes it easier to learn which change caused a visible result. Start with a stable composition and a test exposure, then adjust one control at a time while checking focus, highlights, and motion.
- Set the camera on firm ground and compose the frame; check the horizon and tripod locks.
- Choose aperture for the subject: try f/8 for a broad landscape, or a wider setting for subject isolation.
- Set shutter speed according to movement. Use a faster speed to retain wave detail or a slower speed for intentional blur.
- Adjust ISO to complete the exposure, keeping it as low as practical when image quality and shutter speed allow.
- Use a timer or remote release for long exposures, then review the image at magnification for focus and camera shake.
- Protect the camera from spray and sand, and clean and dry equipment according to manufacturer guidance after the session.
For example, a beginner photographing a rocky shoreline at dawn might mount the camera on a tripod, start at f/8, and use a moderate ISO. If the foreground is sharp but the surf is too frozen, the photographer can lengthen the shutter speed and adjust aperture, ISO, or a neutral-density filter to maintain exposure. If the image is soft throughout, check focus and tripod movement before simply selecting a smaller aperture.
Conclusion: start with control, then build experience
Aperture and tripod form a useful foundation for coastal photography because they address two different creative needs: depth of field and exposure, and camera stability. Start with moderate apertures for landscapes, use wider ones when subject separation matters, and let shutter speed determine how moving water appears. A tripod supports careful composition and longer exposures, but safe placement and protection from salt and sand are part of using it well.
Take a short series of test frames at different apertures and shutter speeds at your next shoreline visit. Compare the depth of field and water texture, keep notes on the conditions, and consult your camera and tripod manufacturers’ care guidance. That practice will build more dependable results than buying additional accessories before learning how these two tools interact.
Sources: Bryan Peterson, Understanding Exposure: How to Shoot Great Photographs with Any Camera, Amphoto Books, 2016; National Park Service, “Beach Safety,” https://www.nps.gov/articles/beach-safety.htm; Cambridge in Colour, “Depth of Field,” https://www.cambridgeincolour.com/tutorials/depth-of-field.htm; Cambridge in Colour, “Long Exposure Photography,” https://www.cambridgeincolour.com/tutorials/long-exposure-photography.htm