Recording waves—whether they are ocean swells, surf sessions, or sound waves—means matching your equipment and technique to the environment. For ocean-wave photography and video, the practical approach is to protect the camera from water and impact, choose a housing rated for the intended conditions, secure the setup with a leash, and rinse and inspect it after every session. The stakes are real: saltwater can corrode metal contacts, while pressure rises with depth; NOAA’s diving guidance estimates pressure increases by about one atmosphere for every 10 meters of seawater. This guide explains the protection gear, camera and lens choices, safe operating practices, and maintenance routines that help you capture waves without turning a shoot into an expensive repair.
Wave photography equipment protection begins with understanding water, impact, and pressure
In this article, “capturing waves” refers to photographing or filming ocean waves near the shoreline or from the water. Equipment protection is the set of measures that prevent water intrusion, impact damage, loss, and corrosion. A camera’s weather resistance is not the same as waterproofing: manufacturers typically specify limits and conditions, and seals can fail if a door is not closed correctly, a gasket is damaged, or the equipment is exposed beyond its rating.
The National Oceanic and Atmospheric Administration (NOAA) explains that water pressure increases with depth, at roughly one atmosphere for each 10 meters of seawater. That makes a housing’s depth rating a safety boundary, not a target to exceed. Near shore, the most immediate risks may instead be breaking-wave impact, spray, sand, and a camera being knocked from your hands.
Weather resistance, waterproofing, and submersion are different protections
Weather-resistant equipment is designed to tolerate specified exposure, but the term does not establish a universal guarantee against immersion. Waterproof cameras and dedicated underwater housings are designed for defined depths and conditions; an IP rating, where provided, describes performance under a standardized test and should be checked for the exact device and rating. Sony’s camera guidance, for example, cautions that dust- and moisture-resistant construction does not mean a camera is waterproof or splashproof in every situation. Treat the manufacturer’s manual as the authority for your specific model.
Salt, sand, and surf create distinct failure modes
Salt deposits can remain after seawater evaporates, while sand can scratch glass, jam controls, or compromise housing seals. Waves also deliver sudden force that a calm-water depth rating does not describe. The practical implication is to prevent exposure where possible, use a secure tether, and clean equipment promptly with fresh water according to the maker’s instructions. Never open a wet housing or remove a lens in blowing sand or spray.
Wave photography protection depends on choosing a suitable camera system
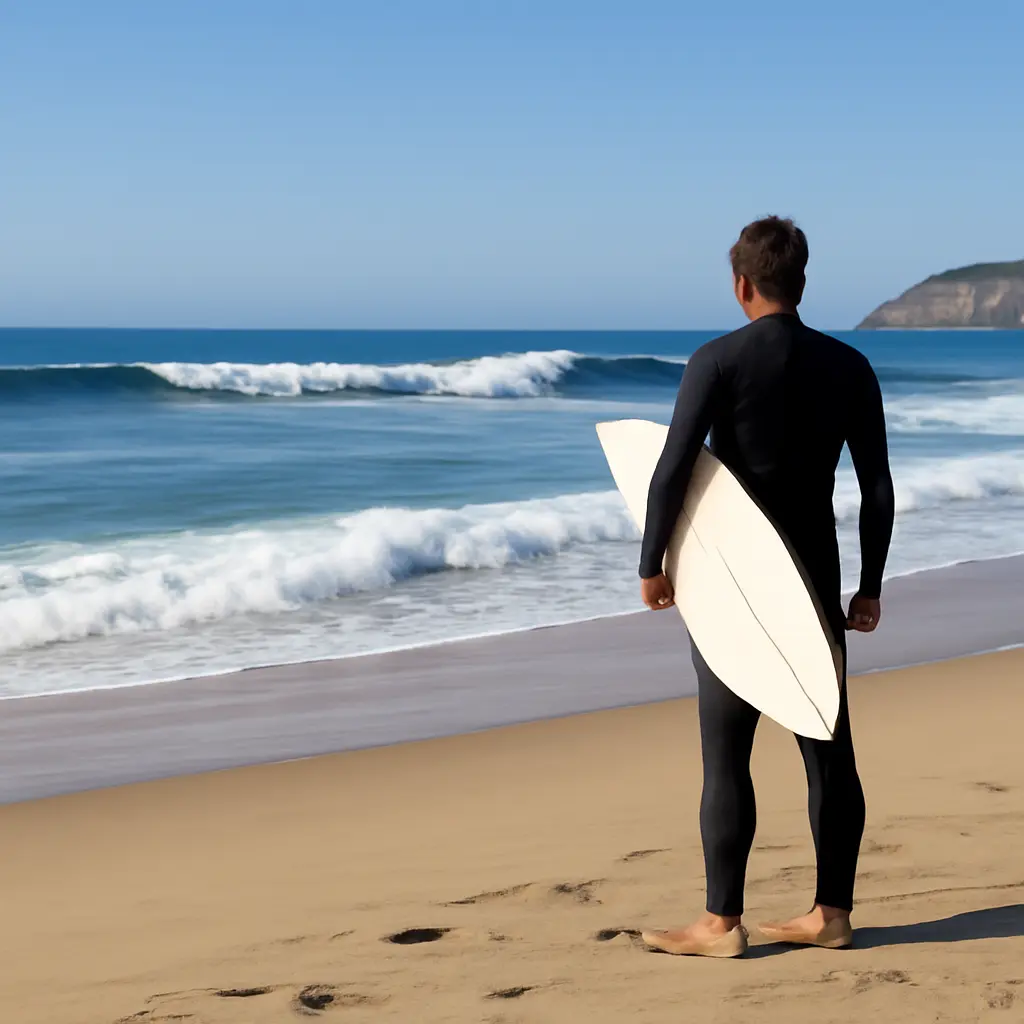
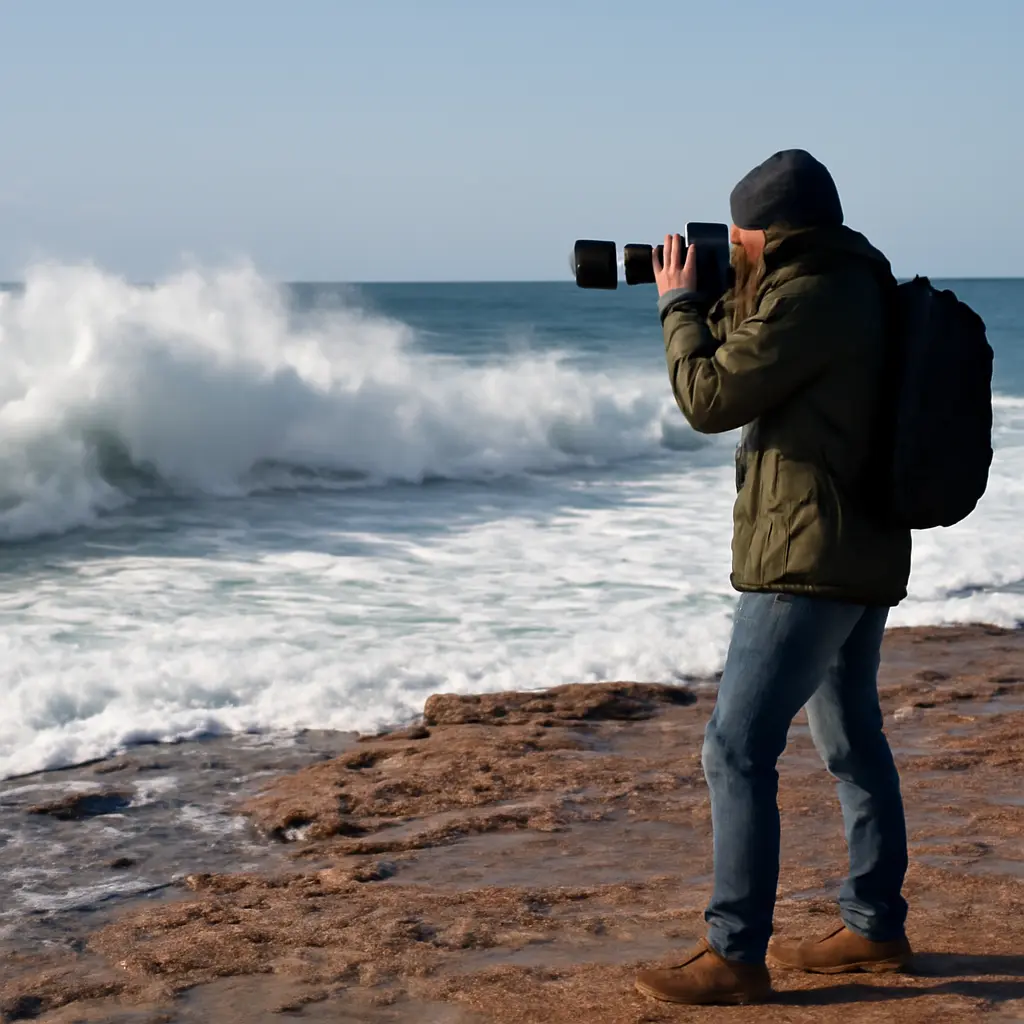
Once the hazards are clear, choose gear for the shooting position and conditions. A shore-based photographer may need only a telephoto lens, rain cover, and stable footing; a photographer entering the water needs a system designed for immersion and a plan for surf safety. The most protective setup is not necessarily the most expensive one—it is the setup whose published limits match the actual use.
Waterproof compact cameras suit simple in-water shooting
A waterproof compact camera is a self-contained option for swimmers and casual wave photography. Check its stated depth rating, operating-temperature limits, and whether the rating assumes a clean, correctly closed battery and card door. These cameras reduce the number of seals and accessories you must manage, though their image quality, lens flexibility, and low-light performance may differ from larger systems.
Underwater housings protect interchangeable-lens cameras
An underwater housing encloses a camera in a pressure-resistant shell with controls that operate its buttons and dials. Use a housing made for the exact camera body, and confirm that the port fits the lens. Before entering the water, inspect the O-ring for grit, hair, cracks, or twists; seat it as directed; and perform the manufacturer’s recommended leak check. Housing depth ratings and maintenance requirements vary, so there is no safe universal depth rating to assume.
Shore-based setups reduce exposure but still need protection
From land, a telephoto lens can frame distant waves without entering the impact zone. A rain cover or camera cover helps with spray, but it does not make the camera safe to submerge. A UV or clear protective filter can take some abrasion risk, but it is not a substitute for a lens cap, careful cleaning, or a hood. If salt spray lands on the front element, remove loose grit with a blower before wiping so particles are less likely to scratch the glass.
Wave photography technique improves safety as well as image quality
Good technique limits how long equipment is exposed and reduces the chance of a fall or collision. NOAA’s National Weather Service emphasizes that rip currents can pull swimmers away from shore; its advice is to swim parallel to the shore to escape a rip rather than fighting directly against it. Photographers should assess surf and currents before entering, work with a knowledgeable partner, and avoid shooting alone in hazardous water.
Shutter speed and focus should match the wave’s motion
A fast shutter speed helps freeze spray and a breaking crest, while a slower shutter can blur water into a smoother form if the camera is stabilized. Continuous autofocus and burst shooting can help track fast-changing wave shapes, but exact settings depend on light, distance, and the visual effect you want. Test exposure and focus from a safe position before approaching the water, rather than adjusting unfamiliar controls in a dangerous set of waves.
A tether and secure grip reduce loss risk
A wrist or body tether can help keep a camera from sinking or washing away if it slips, but it can also snag or pull against you in moving water. Select a tether designed for the camera and conditions, attach it to a manufacturer-approved point, and consider whether a quick-release system is safer for the location. Do not tether yourself to fixed objects in surf, and do not let gear security distract from your ability to move away from a wave.
A safe shooting position is part of equipment protection
Watch several wave sets before choosing a position, keep a clear route back to safety, and avoid wet rocks, cliff edges, and areas with unpredictable surges. The National Weather Service warns that even waves that appear manageable can sweep people from rocks or beaches. A longer lens and a dry position are often better choices than risking a camera—and yourself—for a closer angle.
Wave photography maintenance prevents corrosion and seal failure
Care does not end when the camera leaves the water. Freshwater rinsing, careful drying, and routine seal checks help remove salt and reveal problems before the next shoot. Follow the manual for the specific camera and housing, since some products require rinsing while assembled and others have different cleaning procedures.
Rinse and dry equipment without spreading grit
If the manufacturer permits it, rinse a closed waterproof camera or housing gently with fresh water after saltwater use. Do not direct a high-pressure stream at seals or controls. Dry the exterior before opening compartments, and keep the open housing away from sand and spray. Use a clean, soft cloth and a blower for loose particles; avoid rubbing salt crystals or grit across the lens.
Inspect O-rings, doors, and connectors regularly
O-rings form a seal between housing surfaces, so dirt, nicks, deformation, or incorrect placement can create leak paths. Inspect them as the manufacturer directs and use only approved cleaning products and lubricants. Check battery doors, port connections, and control shafts, and replace worn components rather than relying on tape or improvised fixes.
Dry storage and transport reduce avoidable damage
Transport cameras in padded, closed cases and separate wet accessories from dry electronics. Allow equipment to dry fully before long-term storage, and avoid leaving it in a hot vehicle, where heat can damage batteries, seals, and electronic components. Keep spare batteries and memory cards in a dry, accessible place so you can end a session without opening a wet housing in poor conditions.
Wave photography protection is best applied as a repeatable field checklist
A routine reduces dependence on memory when conditions are changing. For example, a shoreline photographer can use a telephoto lens and rain cover, check the forecast and wave conditions, secure the camera, and clean the front element carefully after exposure. An in-water photographer should additionally verify the housing and seals, use an appropriate tether, and confirm that the camera system is within its published depth and operating limits.
- Before the shoot: check weather, surf, access, and the manufacturer’s equipment limits.
- Before entering water: inspect and close the housing as instructed, and secure the camera without restricting safe movement.
- During the shoot: keep an exit route, monitor changing conditions, and prioritize personal safety over the shot.
- After the shoot: rinse only as permitted, dry before opening, and inspect seals and controls.
A useful visual aid is a simple exposure-versus-protection chart: place shooting position—shore, splash zone, or submerged—on one axis and required protection—cover, waterproof camera, or rated housing—on the other. It reinforces a key point: choose protection for the actual exposure, not for a vague assumption that “weather-sealed” means safe in surf.
Conclusion: Wave photography protection preserves both the image and the equipment
Wave photography protection starts by distinguishing weather resistance from waterproofing and understanding how salt, sand, pressure, and surf can damage gear. Choose a camera or housing whose limits match the shoot, use safe positioning and secure handling, and follow the manufacturer’s rinsing and seal-maintenance instructions. Most importantly, regard water and surf safety as part of the equipment plan: a camera is replaceable, but your safety is not. Before your next session, read the camera and housing manuals, check local marine and weather guidance, and practice the setup on dry land.
Sources: National Oceanic and Atmospheric Administration, NOAA Ocean Exploration: Diving Deeper, https://oceanexplorer.noaa.gov/edu/materials/pressure-underwater/; Sony, Is my camera waterproof or splashproof?, https://www.sony.com/electronics/support/articles/00018997; National Weather Service, Rip Currents, https://www.weather.gov/safety/ripcurrent; National Weather Service, Beach Hazards, https://www.weather.gov/safety/beach-hazards