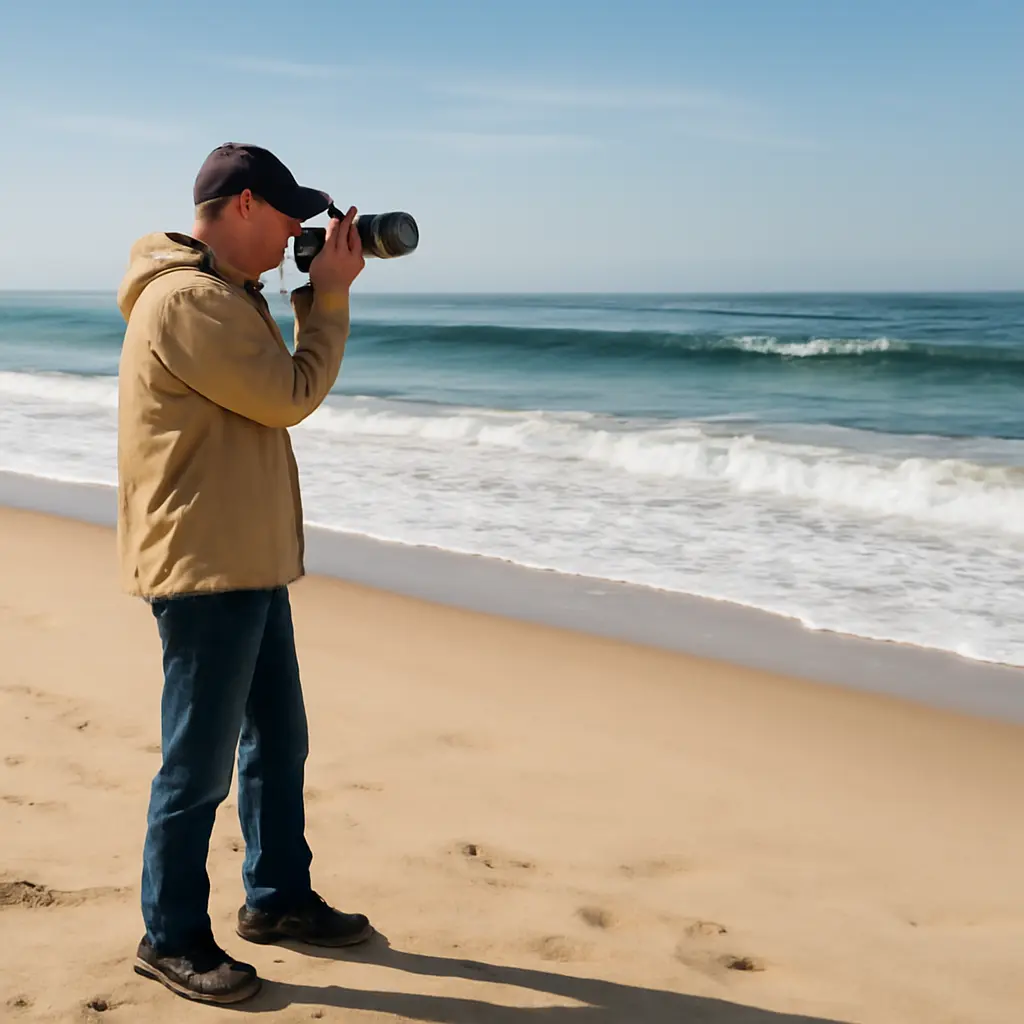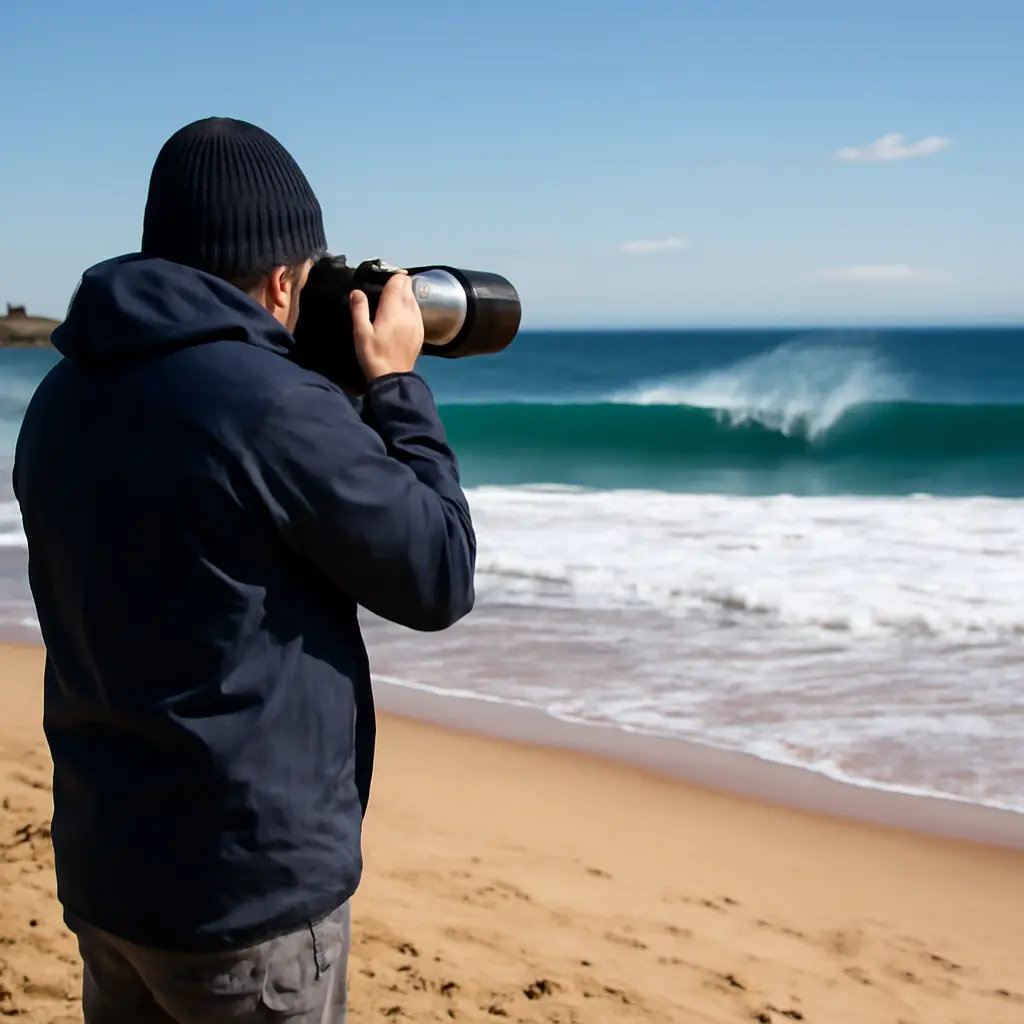
Wave compression is the rapid crowding of wave crests into a shorter distance, often visible as a steep, curling face or a breaking lip. In photography, that compression can turn an ordinary swell into a moment of dramatic scale: a wave appears to rise, fold, and explode while the surfer, shoreline, or spray gives the viewer a sense of size. The effect is shaped by wave physics, surf conditions, camera position, shutter speed, and timing—not by lens choice alone. Understanding those factors helps photographers anticipate the peak, record its structure, and distinguish true wave shape from perspective compression.
Wave compression defines the explosive moment
“Wave compression” is a useful photographic description, not a single formal oceanographic term. It refers to the way a wave steepens as its energy is forced into shallower water or as opposing currents and seabed features alter its movement. In shallow water, the wave slows and its wavelength shortens while its height can increase; the crest eventually becomes unstable and breaks. The National Oceanic and Atmospheric Administration explains that waves approaching shore change as they interact with the seafloor, helping produce the familiar rise and break of surf.
For a photographer, the key visual sequence is steepening, pitching, and impact. A compressed wave face can look nearly vertical, while a curling lip creates a bright, curved edge and spray marks the moment of release. Compression also has a visual meaning in photography: a long focal length narrows the apparent distance between foreground and background, making a wave and a distant surfer look closer together. These two effects—physical wave steepening and lens-based perspective compression—can reinforce one another, but they are not the same phenomenon.
Physical compression: shoaling and breaking
Shoaling occurs when waves move from deeper water toward shallower water and interact with the seabed. Their speed and wavelength change, and wave height may grow relative to the surrounding water. When the wave becomes too steep to remain stable, the crest breaks. The exact behavior depends on water depth, wave period, seabed slope, and coastal shape, so a reef, sandbar, or beach can produce distinct breaking patterns even under similar offshore swell.
A useful field cue is the relationship between the crest and the face: as the face steepens and the lip begins to project forward, the breaking moment is approaching. Photographers should not assume every tall wave will form a clean tube. A shallow reef may create a fast, hollow break, while a gentler beach slope may produce a spilling wave with a softer, longer collapse.
Visual compression: focal length and perspective
Telephoto lenses magnify distant subjects and narrow the field of view. When the photographer stands far from the action, a long lens can make the surfer, wave, and background seem tightly stacked, emphasizing the wave’s apparent scale. The effect comes primarily from shooting distance and framing: perspective changes with camera position, while focal length determines how much of that perspective fills the image.
This distinction matters when describing photographs accurately. A lens does not physically squeeze the ocean or make a wave taller. Instead, a distant viewpoint and tight framing can make layers appear closer together, while the real wave’s steepening and breaking provide the underlying action. Comparing a wide-angle shoreline frame with a tightly framed telephoto image of the same break can reveal how strongly viewpoint shapes perceived scale.
Wave compression shapes the most dramatic photographic moments
The most explosive images usually combine a recognizable wave form with a clear instant of change. A crest that is still standing conveys anticipation; a lip pitching forward conveys imminent impact; spray, foam, or a collapsing curtain records the release. The strongest frame often includes a scale reference—a surfer, swimmer viewed from a safe location, boat, or shoreline feature—so the audience can judge the wave’s size rather than relying on an isolated mass of water.
Wave period and swell direction help photographers anticipate when energy will arrive, while local bathymetry and tide influence where it breaks. Surf forecasts can guide planning, but conditions vary along a coast and change over time. NOAA’s National Data Buoy Center provides measured wave observations such as significant wave height and dominant wave period. Significant wave height is a statistical measure based on the average of the highest one-third of waves, not a prediction that every individual wave will match that height.
The pitching lip and the instant of impact
A pitching lip is the advancing crest that curls or throws forward as a wave breaks. It can create the iconic barrel, or tube, when the lip arcs over a sufficiently open space. The photographic window is brief: shoot too early and the wave may look merely steep; shoot too late and the lip may have disappeared into foam. Continuous shooting can increase the chance of catching the peak, but careful timing and anticipating the break remain essential.
Shutter speed determines how the moving water is rendered. A fast shutter can preserve droplets and a crisp curtain of spray; a slower shutter can soften the water and suggest motion. There is no universal setting because the required speed depends on light, focal length, subject movement, and the visual intention. A practical approach is to begin with a shutter speed fast enough to control motion, then adjust exposure and ISO while checking whether the spray retains the desired texture.
Spray, foam, and backlighting
Spray and foam reveal the direction and force of a breaking wave. Backlighting can make fine droplets glow against a darker sea, while side light emphasizes the ridges and texture of the wave face. Front light tends to show color and detail more evenly but may make the spray less luminous. These are compositional choices rather than guarantees: haze, cloud cover, water color, and exposure all affect the result.
A useful photograph often preserves detail in both the bright spray and darker water. Photographers can monitor the exposure histogram and protect highlights, especially in strong sunlight. If the scene has a wide brightness range, shooting RAW can provide more flexibility in later tonal adjustment than a compressed camera file.
Wave compression guides timing, composition, and safety
Photographing a powerful break is a fieldcraft problem as much as a camera problem. The photographer must read the set pattern, choose a safe and lawful position, and keep attention on changing water rather than only through the viewfinder. A telephoto lens can make it possible to work from shore, but it does not make an unsafe location safe. Rogue waves, rip currents, unstable rocks, and sudden surges can endanger people well beyond the waterline.
Reading the break and choosing a viewpoint
Before shooting, observe several sets and note where the waves begin to steepen, where they break, and how the water recedes. A slight change in angle can separate the lip from the background or reveal the wave’s curve. A low viewpoint can make the face appear taller, while an elevated viewpoint can show the wave’s shape and the surrounding lineup. Use public access points and follow local restrictions, posted warnings, and guidance from lifeguards or coastal authorities.
Forecasts and buoy observations provide context rather than certainty. Significant wave height summarizes a group of waves, and individual waves can be higher or lower. Period, direction, tide, and local seabed shape also affect what reaches a particular break. For a case-study approach, compare forecast conditions with photographs and notes made at the location; over time, this builds a practical record of how that beach or reef responds under different conditions.
Framing scale without distorting the story
A surfer or other familiar subject helps communicate scale, but framing can exaggerate apparent size through distance and perspective. To keep the image informative, retain environmental cues where possible: a section of shoreline, a known structure, or a wider frame that shows the break in context. A tight crop can be visually powerful, but it may conceal how far the photographer stood from the wave or how the subject relates to the surrounding sea.
For a simple visual comparison, create a three-frame sequence: a wide view showing the location, a medium view showing the wave’s shape, and a tight view of the lip or spray. Such a sequence makes the difference between physical wave compression and photographic perspective easier to understand.
A practical safety checklist
- Check local surf, tide, weather, and hazard information before arriving.
- Watch multiple sets from a secure position before selecting a shooting spot.
- Stay clear of wet rocks, unstable cliffs, narrow outlets, and areas exposed to sudden surges.
- Keep an escape route and avoid turning your back on the ocean.
- Use weather-sealed equipment or protective covers where appropriate, and do not let gear distract from changing conditions.
- Follow lifeguard instructions, access rules, and local guidance; never enter the water solely to improve a photograph.
Conclusion: wave compression makes motion legible
Wave compression creates dramatic photographic opportunities when physical steepening meets decisive timing and deliberate framing. Shoaling and breaking explain how a wave’s shape changes; pitching lips, spray, and foam provide visual evidence of impact; focal length and viewpoint influence how tightly the scene appears compressed. Reading conditions, choosing a safe position, and using shutter speed to suit the desired rendering help turn a fleeting event into a clear image.
For further study, compare NOAA wave observations with what you see at a familiar coast, then photograph the same break from different viewpoints and focal lengths. The exercise reveals both the ocean’s changing behavior and the camera’s role in shaping the story—without confusing a compelling perspective with a change in the wave itself.
Sources: National Oceanic and Atmospheric Administration, Ocean Waves, https://oceanservice.noaa.gov/education/tutorial_waves/; National Oceanic and Atmospheric Administration, National Data Buoy Center, https://www.ndbc.noaa.gov/; National Oceanic and Atmospheric Administration, Significant Wave Height, https://www.ndbc.noaa.gov/faq/measdes.shtml.